Passport Scans and Photos for Your Dubai Visa Application
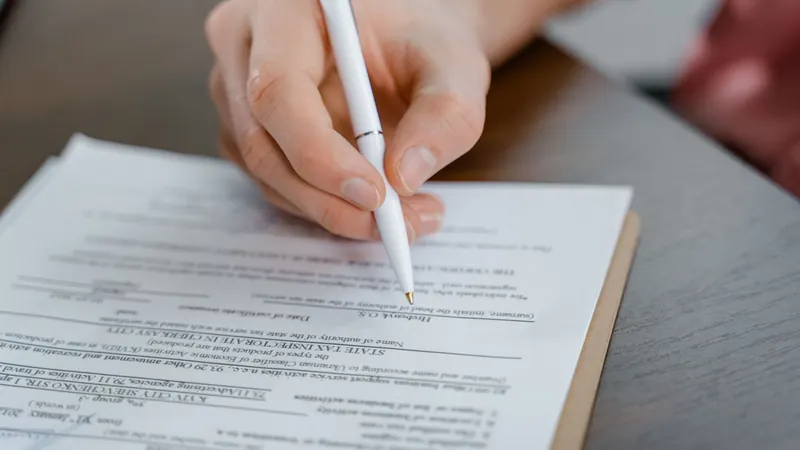
Many application delays do not come from anything complicated. They start with a blurry passport picture, a page cropped too tightly, or a photo taken under a harsh ceiling light. Images that cannot be read have to be replaced, and replacing them costs time that a tight travel schedule may not have.
The good news is that clear images are easy to produce at home with a phone and a few minutes of preparation. This guide walks through each upload, explains what makes an image easy to review, and ends with a short check you can run before you submit.
What the application asks you to upload
The application tells you exactly which files to provide, and its on-screen instructions always take priority over any overview. In general, the documents published on this website are:
- The passport information page, which carries your photo and personal details.
- The passport cover page.
- A recent photograph of the applicant, in front of a white or light-colored background.
- Flight and accommodation confirmations (our guide on booking flights and hotels before you apply covers those).
- A birth certificate for applicants under 18.
Our site also states that documents should be clear color scans or photos, that the passport should be valid for at least six months from your intended date of entry, and that it should have blank pages for stamps. If you want the full overview of what is needed, see the guide to Dubai visa requirements.
Set up before you take a single picture
Good results come from the setup more than the camera.
- Choose a flat surface. A table or desk works well. Avoid holding the passport in your hand, which causes tilt and shadows.
- Use soft daylight. Sit near a window, but not in direct sun. Soft, even light reveals every character without glare.
- Turn the flash off. Flash bounces off the laminated data page and washes out the text.
- Clean the lens. A smudged phone lens is one of the most common causes of soft, hazy images.
- Hold the phone parallel to the page. Tilting the phone stretches the document and blurs the edges.
Photographing the passport information page
This is the image reviewers rely on most, so give it the most care.
- Open the passport flat. If the pages keep curling, rest a clean, light object on the opposite page, keeping it clear of the data page.
- Fill most of the frame with the page, but keep all four edges and corners visible. A cropped corner can hide part of the page.
- Check that the two lines of characters at the bottom of the page are fully visible and sharp.
- Tilt the passport slightly, or shift your position, if you see a bright reflection across the page.
- Keep the colors natural. Do not use a black and white mode, a filter, or any editing app.
- Zoom in on the picture afterward. If you cannot read every letter and number at full size, take it again.
Some passports carry extra information on a different page, for example family details or an additional name. The application guidance on this website mentions such cases, so if yours applies, include the extra page when you are asked to.
The passport cover page
The cover page is the simplest upload, but it still needs care. Place the closed passport flat, photograph the front cover straight on, and make sure the edges are visible and the image is in focus. Remove any protective sleeve first so the cover itself is what appears in the picture.
The applicant photograph
The photograph is a separate image from the passport page, and it follows its own rules. The instructions displayed in the application are the final word, but these habits help in almost every case.
- Use a plain white or light wall as the background and stand a short distance in front of it to avoid shadows.
- Have someone else take the picture. A selfie at arm's length distorts the face.
- Face the camera directly, with the whole face and the tops of the shoulders visible.
- Use even light from the front, with no strong shadows on one side.
- Skip beauty filters and retouching. A photo that looks natural is easier to review.
- Make sure the photo is recent and looks like you today.
Scan or photograph: what works
Our FAQ notes that clear color scans or photos are both acceptable. A scanner is a good choice if you have one, because it produces flat, evenly lit pages. A phone photo works just as well when the setup above is followed.
Whichever you choose, avoid screenshots of screenshots, heavily compressed copies sent through a messaging app, and photographs of a computer screen. If the upload field mentions accepted file formats or size limits, follow them. Keep the original, uncompressed file so you can export a fresh copy if needed.
A five-point check before you upload
Run through these questions for every file:
- Can you read every character at 100 percent zoom?
- Are all four corners visible and is nothing cut off?
- Do the colors look natural, with no filter or tint?
- Is there any glare or shadow hiding part of the text or face?
- Does the file open correctly on another device?
Then compare the name and passport number on the image with what you plan to enter in the form. Entering details exactly as they appear in the passport avoids avoidable mismatches.
Preparing images for several travelers
If you are applying for more than one person, create a folder for each traveler and name each file clearly, for example with the person's name and the document type. Uploading the wrong passport to the wrong traveler is an easy mistake to make when files are called "image1" and "image2". The article on applying for a family or group covers this in more detail.
What happens if an image is rejected
According to our FAQ, a document that cannot be accepted prompts an email from the team with instructions. You then resubmit corrected versions and processing continues. The FAQ also says the processing time begins once payment is received and the documents are verified as clear and complete, and starts over after acceptable replacements arrive.
In other words, a few minutes spent on clear images at the start can save far more time later. Our processing times guide explains how the published estimates work, and the list of common application mistakes is a useful final check.
Keep your files tidy
When your application is complete, store your scans somewhere private and delete extra copies you no longer need, such as photos left in a shared chat or on a borrowed device. You will want one clean set available in case support asks for a replacement.
Final thoughts
Clear images are one of the few parts of a visa application that are completely within your control. Choose a flat surface, use soft light, keep every edge visible, and check each picture at full size before you submit. When your documents are ready, you can compare the available options on the visa fees page and begin your application. If you have questions along the way, the FAQ is a good place to start.